
Customize Shoes with fabric is one of the most creative and flexible ways to transform ordinary footwear into something truly personal. Unlike paint-only customization, fabric allows you to introduce texture, pattern, and depth – whether you want a subtle accent or a bold statement piece. Best of all, fabric customization is accessible to beginners while still offering endless possibilities for advanced designers.
This guide walks you through everything you need to know about how to customize shoes with fabric, from choosing the right materials to applying them correctly and ensuring long-term durability. Whether you are customizing shoes for personal use, a gift, or even exploring future commercial ideas, this article will give you a solid foundation.
Why Use Fabric for Shoe Customization?
Fabric-based customization stands out because it offers design freedom that paint alone cannot achieve. Patterns like florals, plaids, denim weaves, or embroidery instantly elevate the visual appeal of shoes.
Key advantages of fabric customization include:
For beginners, fabric is also forgiving. Minor alignment errors often blend into the design rather than standing out.
Choosing the Right Shoes for Fabric Customization
Not all shoes are ideal for fabric application. Selecting the right base shoe is the first critical step.
Best Shoe Types for Fabric Customization
Shoes to Avoid (Especially for Beginners)
Flat, structured surfaces make fabric easier to cut, glue, and secure properly.
Selecting the Right Fabric
Fabric choice directly affects both the appearance and durability of your customized shoes.
Beginner-Friendly Fabrics
These materials are easy to cut, glue, and mold around shoe panels.
Advanced Fabric Options
While visually stunning, advanced fabrics require stronger adhesives and more precise cutting.
Fabric Considerations
Before committing to a fabric, consider:
Always pre-test your fabric on a small area or scrap material.
Tools and Materials You Will Need
Preparation is essential for clean results. Here is a basic toolkit for fabric shoe customization:
Having the right tools reduces frustration and improves overall quality.
Step 1: Planning Your Design
Before cutting anything, plan your design carefully.
Ask yourself:
Sketch your idea or use masking tape to outline areas on the shoe. Planning prevents over-customization and helps maintain balance.
Step 2: Preparing the Shoe Surface
Surface preparation is often overlooked, yet it determines whether your fabric stays in place long term.
For Leather Shoes
For Canvas Shoes
Skipping preparation may cause fabric lifting or uneven adhesion.
Step 3: Creating Fabric Templates
Accurate templates are key to a professional-looking result.
How to make templates:
Always cut slightly larger than needed. You can trim excess fabric later for precision.
Step 4: Cutting and Positioning the Fabric
Cut your fabric slowly and cleanly. Precision matters, especially around curves and corners.
Before applying glue:
Take your time during this step – it prevents irreversible mistakes.
Step 5: Applying the Fabric to the Shoe
This is the most critical phase of the customization process.
Adhesive Application Tips
Work in small sections rather than trying to glue the entire panel at once.
Use a heat gun or hair dryer lightly to help the fabric conform to curves, but avoid overheating.
Step 6: Trimming and Securing Edges
Once the fabric is attached:
Edges are where most failures occur. Reinforcing them ensures longevity and wearability.
Step 7: Sealing and Finishing
Sealing protects your fabric from moisture, dirt, and fraying.
Common finishing options:
Apply thin, even layers and allow full drying time between coats.
Creative Fabric Customization Ideas
Once you understand the basics, you can explore creative directions:
Fabric customization opens doors to storytelling through footwear.
Common Mistakes to Avoid
Even experienced designers make mistakes, but beginners can avoid the most common ones:
Patience and restraint lead to better results.
Caring for Fabric-Customized Shoes
Proper care extends the life of your customized shoes.
Tips include:
Fabric-custom shoes require a bit more care, but the payoff is worth it.
From DIY to Professional Fabric Custom Shoes
As your skills grow, you may want to explore professionally made fabric-based custom shoes. Experienced manufacturers combine fabric, leather, and advanced construction techniques for durability and comfort.
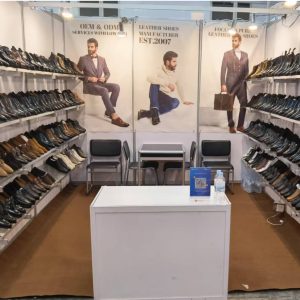
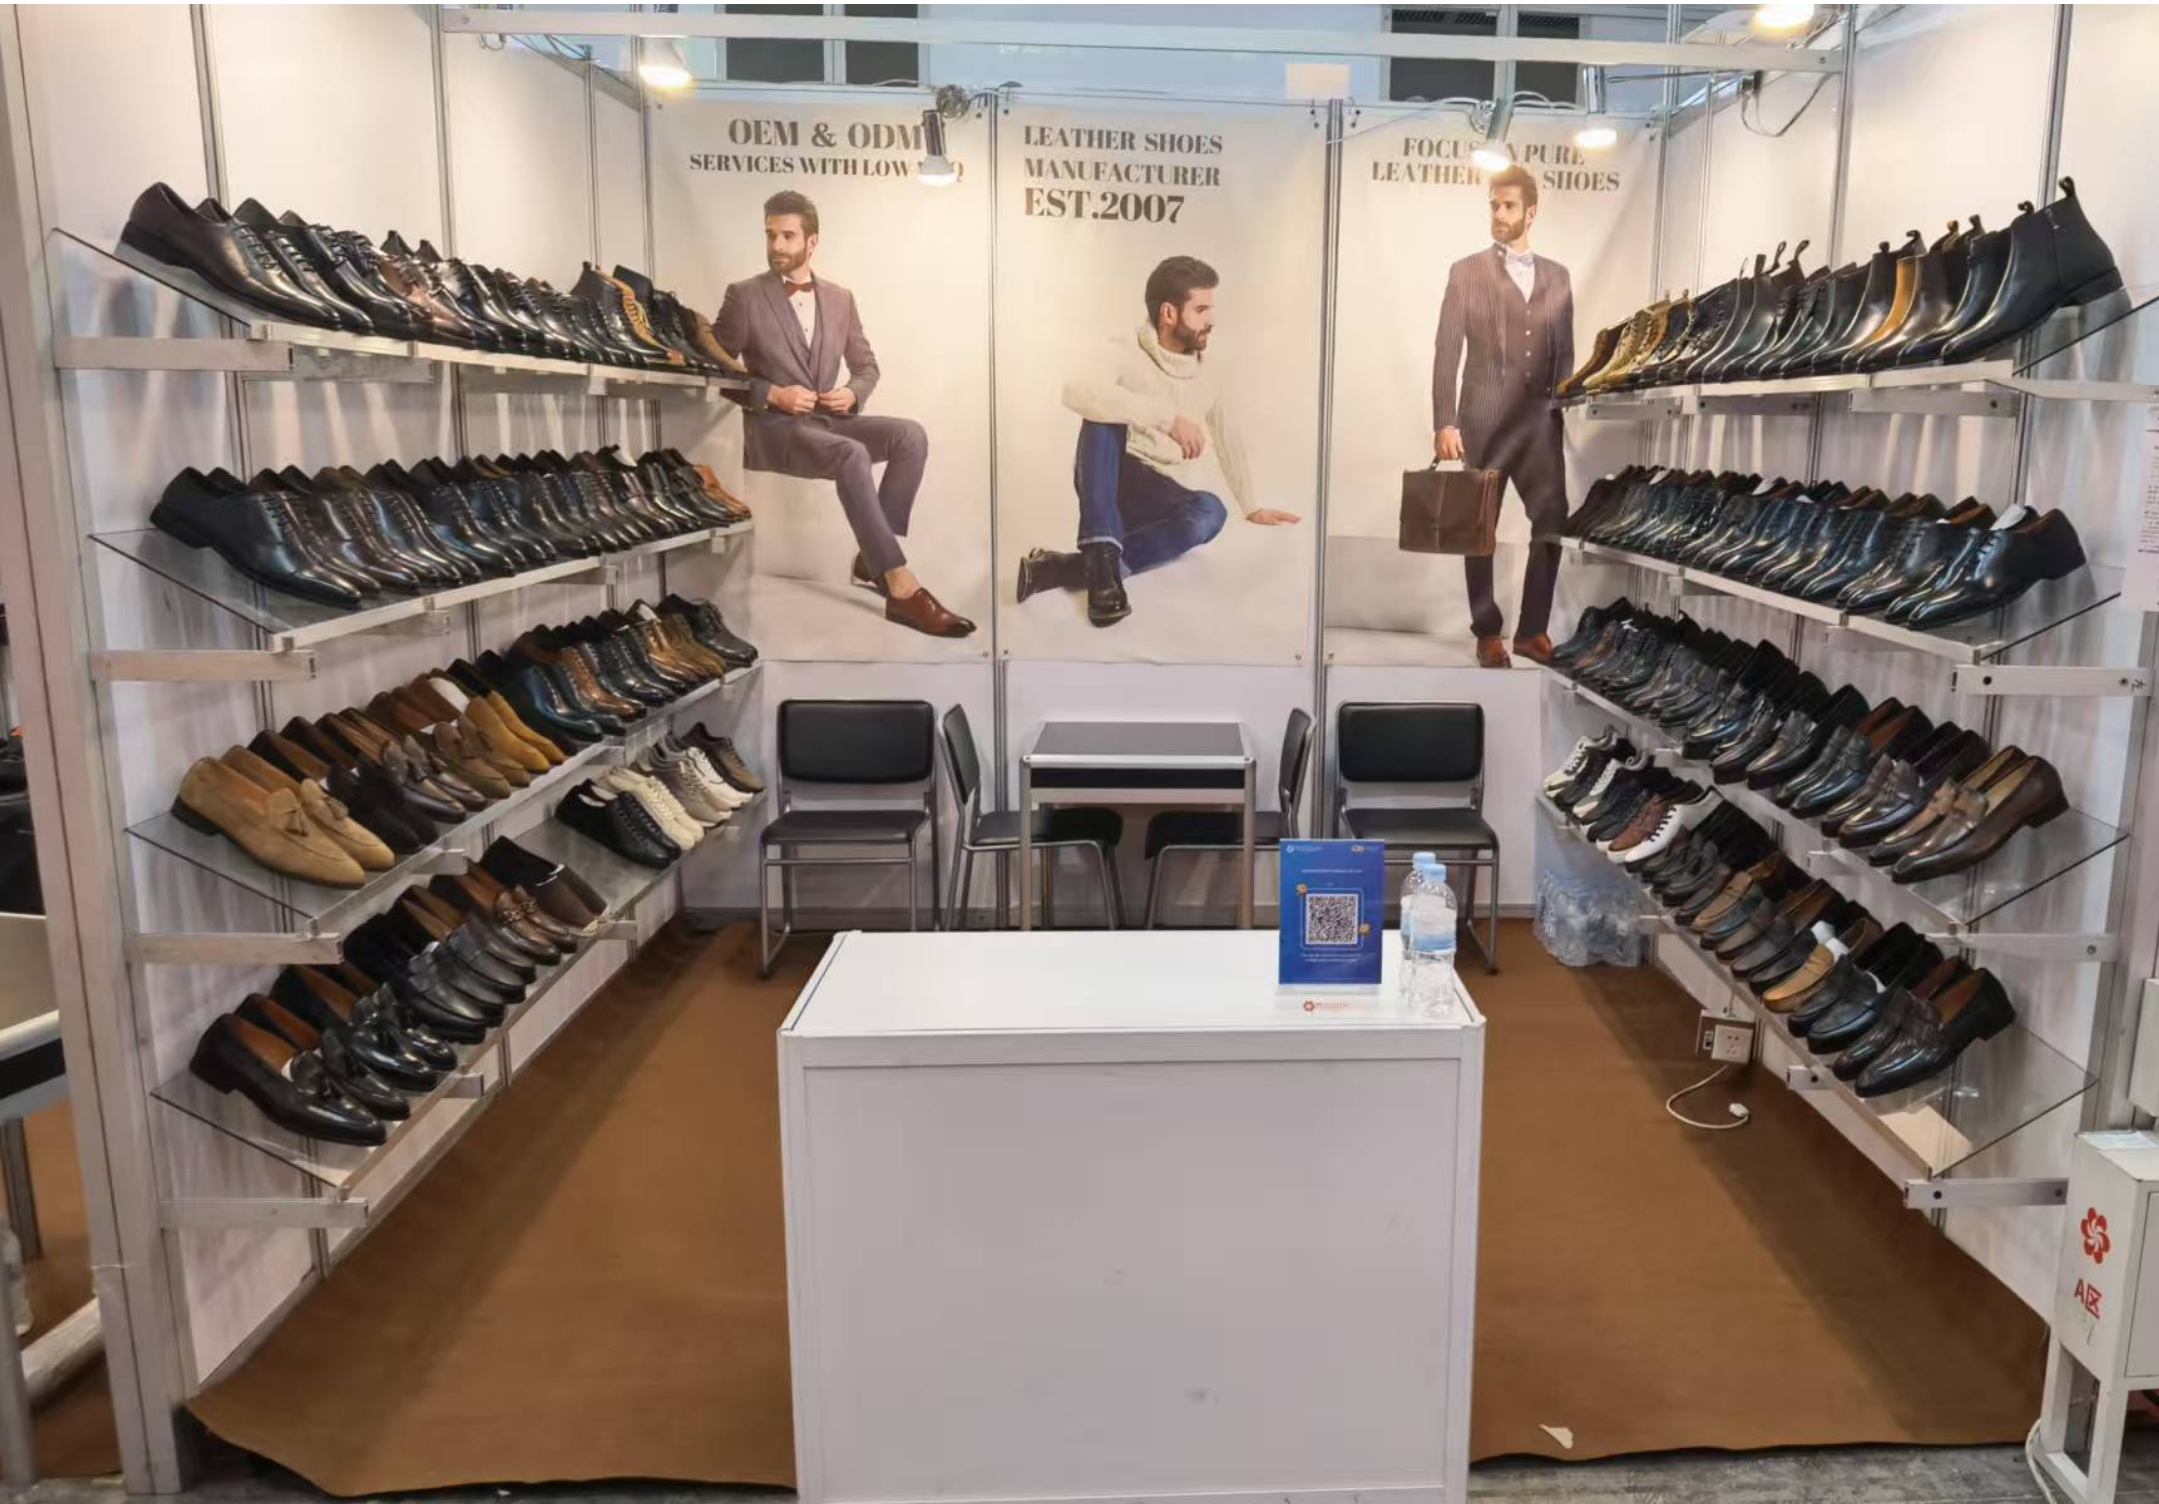
Companies like Shanghai Wincheer, an 18-year manufacturer specializing in premium leather custom shoes, often collaborate with designers and brands to integrate fabric elements into high-quality footwear. Understanding professional processes can inspire DIY creators who want to scale their designs beyond one-off projects.
Final Thoughts
Learning how to customize shoes with fabric is a rewarding creative journey. It blends design, craftsmanship, and personal expression in a way few fashion projects can.
Start simple. Focus on clean execution. Learn from each pair you customize. With practice, fabric-based shoe customization can evolve from a hobby into a signature style – or even a professional opportunity.
The most important rule? Enjoy the process. Every stitch, cut, and press brings your vision one step closer to life.
B2b@dmin 1月 8th, 2026
Posted In: Blog
Getting into custom shoes can feel intimidating at first. I still remember staring at a plain white pair of sneakers and thinking, where do I even start? The good news is that custom shoe design doesn’t have to be complicated, expensive, or overly artistic. In fact, the best custom shoe ideas for beginners are simple, forgiving, and fun to execute.
Custom Shoe Ideas
This guide is written for first-timers. If you’ve never customized shoes before, or you’re just starting to explore creative footwear, these ideas will help you build confidence, learn core techniques, and avoid common mistakes. Think of this as a friendly walkthrough – like advice from someone who’s already made the messy errors so you don’t have to.
Below are beginner-friendly custom shoe ideas that balance creativity with practicality, along with tips on materials, techniques, and mindset.
Start With the Right Base Shoe
Before diving into design ideas, let’s talk about the foundation. Your base shoe matters more than most beginners realize.
For your first custom project, I strongly recommend:
These surfaces are easier to paint, dye, or modify. Leather, in particular, is very forgiving and widely used in custom shoe work because it absorbs paint evenly and cleans well.
Avoid highly textured fabrics, mesh uppers, or dark-colored shoes at the beginning. They limit what you can do and make mistakes harder to fix.
If you’re new to custom shoes, less really is more.
Color blocking involves painting or dyeing specific panels of the shoe in solid colors. Instead of complex artwork, you focus on clean lines and balanced color placement.
Why this works for beginners:
Try using two or three complementary colors. Neutral bases like white, beige, or light gray paired with one bold accent color are a safe starting point.
This approach helps you understand how shoe panels interact visually without overwhelming yourself.
A monochrome custom shoe uses different shades of a single color. This is one of my favorite beginner ideas because it looks intentional even if your technique isn’t perfect yet.
For example:
You can experiment with finishes – matte paint, glossy sealant, or even suede overlays – to create depth without needing advanced artistic skills.
Monochrome designs also translate well into wearable, everyday shoes.
You don’t need to be an illustrator to add personality to shoes.
Simple words, short quotes, or single phrases can make a powerful design statement. Think of:
Use a fine paint pen or small brush and keep the typography clean. Block letters or simple cursive are much easier than decorative fonts.
This idea is perfect for beginners because it focuses on precision rather than drawing complex images.
Line art is another beginner-friendly style that looks intentional even when imperfect.
Instead of filling large areas with color, use thin black or dark lines to create:
Mistakes in line art often add character rather than ruining the design. That’s a big confidence booster when you’re starting out.
I recommend sketching lightly with a pencil first, then tracing with paint once you’re comfortable.
Customization doesn’t always mean painting the shoe itself.
One of the easiest ways to personalize shoes is by changing the laces. For beginners, this is a low-risk way to experiment with style.
Ideas include:
You can also combine lace swaps with minimal painting for a cohesive look. It’s simple, affordable, and surprisingly effective.
If painting the upper feels intimidating, start lower.
Customizing the midsole or sole edge is a great beginner idea. A thin line of color around the sole can completely change the look of a shoe.
Popular beginner approaches:
Because this area is less visible, small mistakes are less noticeable, which makes it ideal for learning.
Instead of redesigning the entire shoe, focus on one small area.
Heel tabs, tongue labels, or side logos are perfect places to start. You can:
This targeted approach keeps the project manageable and helps you practice control before moving on to full designs.
Having a theme makes decision-making easier.
For beginners, simple themes work best. Examples include:
A theme gives your design direction and prevents overthinking. When in doubt, ask yourself whether each design choice fits the theme.
You don’t need to invent something completely new.
Some of the best beginner ideas come from everyday inspiration:
This approach makes color selection easier and helps your design feel cohesive.
If you’re nervous about permanence, that’s completely normal.
Begin with changes that can be undone or adjusted:
This lowers the pressure and helps you enjoy the process rather than worrying about perfection.
Common Beginner Mistakes to Avoid
Even the best custom shoe ideas can go wrong if you skip the basics. Here are a few mistakes I see beginners make often:
Custom shoe design rewards patience. Take your time, let layers dry fully, and keep designs simple at first.
Building Skills Through Practice, Not Perfection
Custom shoes are a craft. Like any craft, improvement comes from repetition, not talent alone.
Your first pair probably won’t be perfect. That’s fine. Each project teaches you something – how paint behaves, how leather absorbs color, how small details make a big difference.
Many professional custom shoe designers started exactly where you are now: experimenting on simple shoes, learning through trial and error, and slowly refining their style.
When to Consider Professional Custom Shoe Makers
As your interest grows, you may reach a point where you want higher-quality materials, more complex construction, or even custom-built shoes rather than modified ones.
That’s where experienced manufacturers come in. Companies like Shanghai Wincheer, with nearly two decades of experience specializing in premium leather custom shoes, work closely with brands and designers to turn concepts into wearable, high-quality footwear. For beginners who eventually want to scale ideas into production, understanding how professional custom shoe makers operate can be incredibly valuable.
Final Thoughts
Custom shoe design doesn’t require advanced skills, expensive tools, or artistic perfection. The best custom shoe ideas for beginners focus on simplicity, creativity, and learning through doing.
Start small. Choose forgiving designs. Enjoy the process. Every pair you customize builds confidence and skill.
Most importantly, remember that custom shoes are personal. There’s no single “right” design – only what feels right to you.
B2b@dmin 1月 8th, 2026
Posted In: Blog
Have you ever bought a pair of shoes only to find they didn’t fit at all? You’re not alone. Whether it’s the allure of online shopping or the rush of grabbing your favorite pair in-store, finding the right fit can be tricky. But don’t worry—learning how to measure your shoe size at home can save you from future fitting disappointments and endless returns.

Knowing your foot size not only helps you find the perfect fit but also ensures consistency across different brands with varying sizing standards. Surprisingly, many of us might be wearing ill-fitting shoes without realizing it—studies show that up to 72% of people suffer from poor shoe fit. If discomfort or pain is a common experience after a day in your shoes, it might be time to reevaluate your sizing strategy.
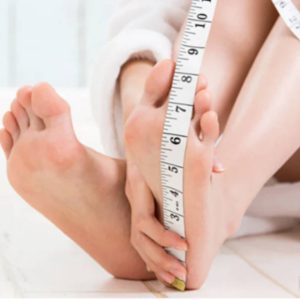
To measure your shoe size at home, you only need two simple tools: a flat ruler and a wall. Begin by measuring both feet since one may be larger than the other, and opt for the larger size if there’s a significant difference.
Curious to learn how to get the perfect fit without the hassle? Keep reading. Let’s get started on finding your perfect fit so you don’t need to break in your shoes.
Let’s kick off by measuring foot length accurately (in inches):
Step 1: Lay the ruler flat on the floor with the zero end against the wall.
Step 2: Position your heel against the wall with toes pointed forward, ensuring a gentle rest without excessive pressure.
Step 3: Measure the distance from the wall/heel to the tip of your longest toe (typically the big toe or second toe).
Step 4: Record this measurement for reference.
Remember, it’s not enough to know your shoe size. You have to know how to measure your foot width so that you can avoid wearing shoes that are too wide or too narrow.
Now, let’s focus on measuring foot width for a comprehensive fit assessment:
Step 1: Place the ruler horizontally on the ground.
Step 2: Step onto the ruler with the widest part of your foot (usually the ball).
Step 3: Measure the distance from one side of your foot to the other.
Step 4: Document this measurement for future use.
Once armed with your foot length and width measurements, consult the appropriate size chart to pinpoint your ideal shoe fit. Remember, while length determines your shoe size, width ensures a comfortable fit tailored to your foot’s dimensions. And if you’re looking for a different gender’s style, adjust sizing accordingly, typically by 1.5 sizes.
If you’re shopping for men’s shoes, utilize the specified size charts to select the perfect fit.


For women’s shoes, refer to the provided size charts for accurate sizing guidance.


Comfortable is paramount when it comes to choosing shoes. Here’s what to look for:
Heel: Ensure a snug fit without excessive slipping or pressure to prevent circulation issues or blisters.
Arch Support: Seek a supportive embrace without constriction for optimal comfort, with the option of additional inserts for extra support.
Toes: Aim for enough wiggle room without excess space to maintain proper fit and prevent rubbing or discomfort.
Width: Find a balance between snugness and roominess to avoid discomfort from cramped or loose shoes.

Please note that different types of shoes may require sizing adjustments. For instance, it’s advisable to increase by half a size for running shoes to accommodate the forward motion and pressure exerted on the toes during running—ensuring ample wiggle room for your toes. Additionally, shoes made from materials like leather may stretch and conform to your feet over time, so this factor should also be taken into account.
It’s important to consider that certain shoe brands may run larger or smaller than average. Typically, sizing instructions are provided indicating whether to size up or down, and by how much. When uncertain, refer to a shoe size measurement guide and consult the brand’s sizing chart to verify your measurements. If you’re shopping for kids’ shoes, we offer guidance on measuring kids’ shoe sizes on our website.
Explore our collection of shoes at: https://www.shwincheer.com
Conclusion
Finding the right shoe fit isn’t just about looks; it’s about comfort and foot health. By measuring your shoe size and width, you can confidently choose the perfect pair and ensure every step is comfortable. Say goodbye to uncomfortable shoes and hello to the joy of a perfect fit made just for you.
B2b@dmin 5月 10th, 2024
Posted In: Blog

Kids grow rapidly, and keeping up with their shoe sizes is essential to ensure their comfort and support. In this comprehensive guide, we’ll walk you through the steps to measure your child’s feet at home, provide shoe size conversion charts for different age groups, offer tips for finding the perfect fit for your little one, and discuss the importance of proper footwear for children’s foot health.
It is extremely important that your child wears the right size of shoes. To determine the correct size yourself, do the following:

Now that you’ve measured your child’s feet, use the following conversion charts to find their shoe size:


Ensuring the proper fit is crucial for your child’s comfort and foot health. Here are some tips to keep in mind:
The measured distance of the left foot from heel to tip toe is 15.4 cm (6 inches), and the right foot is 15.8 cm (6.25 inches). Adding 1 cm (0.375 inches) to the largest base measurement gives 16.8 cm (6.625 inches). Selecting size 27 (EU sizes) corresponds to 10.5 (US sizes).
It’s important to note that brands and models may slightly differ in sizing. Online shops usually describe shoe dimensions and how they fit (normal, large, small). If unsure about the right size, contacting customer support for assistance, especially for inner shoe measurements, is recommended.
On average, a child’s foot grows from size 18 to size 39 over 14 years, averaging an increase of 1.5 sizes per year. However, growth is not always gradual. Here’s a breakdown of the age growth rate per shoe size:
It’s essential to note that while this is the average growth rate, individual children may experience growth spurts, with some increasing a size every two months. Children may not always indicate when their shoes are too small, so frequent size checks are advisable. If the shoe has a removable insole, placing the child’s foot on it and ensuring there’s at least 6 mm of space between the big toe and the shoe is a good way to check fit. When in doubt, consulting a professional sizing device for accurate measurements is recommended.
Proper footwear is essential for children’s foot health and overall well-being. Ill-fitting shoes can lead to discomfort, blisters, and even foot problems in the long run. Additionally, supportive shoes are vital as children develop their walking and running skills, providing stability and reducing the risk of injuries.
By following these steps and tips, you can ensure that your child’s feet are properly supported and comfortable as they grow and explore the world around them. Happy feet make for happy kids, so invest in shoes that fit well and provide the support they need.
B2b@dmin 5月 10th, 2024
Posted In: Blog
Choosing the right athletic shoes is not just about style; it’s about functionality, performance, and injury prevention. Whether you’re a seasoned athlete or a casual fitness enthusiast, finding the perfect pair of shoes can make a significant difference in your overall experience. In this comprehensive guide, we’ll delve into the various aspects of athletic shoe selection, from understanding your foot type to exploring different shoe categories and their features.
Before diving into the world of athletic shoes, it’s essential to understand your foot type and biomechanics. Here are three common foot types:
Identifying your foot type will help you choose shoes that offer the right level of support and stability.
Athletic shoes are designed for specific activities, each catering to different movement patterns and terrains. Here are some common categories:

Running shoes are designed to absorb impact and provide cushioning and support during repetitive forward motion. There are several subcategories within running shoes:
Trail-running shoes are built to handle rugged terrain, offering features such as aggressive tread patterns, durable outsoles, and protective rock plates to shield your feet from sharp objects.
Hiking footwear provides stability and support for extended walks on uneven terrain. Low-cut hiking shoes are suitable for light hiking and day trips, while higher-cut hiking boots offer added ankle support for more challenging terrain and heavier loads.
Walking shoes prioritize comfort and flexibility, with features like cushioned midsoles and flexible outsoles to support the natural motion of walking.
Cross-training shoes are versatile footwear designed to accommodate a range of activities, including aerobics, weightlifting, and circuit training. They offer a balance of stability, cushioning, and flexibility to support multidirectional movements.
Court shoes, such as tennis shoes, basketball shoes, and volleyball shoes, are tailored to the specific demands of court sports, providing features like lateral support, traction, and durability.

Proper fit is paramount when selecting athletic shoes to ensure comfort, performance, and injury prevention. Here are some fitting tips to keep in mind:
If you experience foot or ankle problems, certain modifications or accessories can help alleviate discomfort and prevent further issues:
Choosing the right athletic shoes involves a combination of understanding your foot type, selecting the appropriate category of shoes for your activity, ensuring a proper fit, and addressing any foot-related issues. By following these guidelines and investing in quality footwear, you can enhance your performance, minimize discomfort, and reduce the risk of injury during your athletic pursuits. Remember, your feet are the foundation of your movement—treat them well with the right pair of shoes.
With this comprehensive guide, you’re equipped with the knowledge and insights to make informed decisions when it comes to selecting athletic shoes for any activity. Whether you’re hitting the trails, pounding the pavement, or dominating the court, the perfect pair of shoes awaits—step into comfort, support, and performance today.
B2b@dmin 5月 10th, 2024
Posted In: Blog
Breaking in a new pair of shoes can be a daunting task, but with the right approach, you can do it painlessly. Whether you’re slipping into a fresh pair of leather boots or breaking in a new set of running shoes, there are strategies to prevent discomfort and avoid blisters. Here’s a comprehensive guide on how to break in your shoes effectively and comfortably.

Before diving into the process of breaking in your shoes, it’s crucial to ensure you’ve chosen the right fit. Here are some tips to guarantee a good fit:
Different shoe materials require different approaches to breaking them in. Here’s a brief overview of common materials:

Breaking in shoes often involves stretching them to accommodate your feet. Follow this three-day process for optimal results:
Wear your new shoes for 30 minutes indoors, preferably in the afternoon or evening when your feet are slightly swollen.
Increase wearing time to 60 minutes, both indoors and outdoors. For particularly tight dress shoes, consider wearing thick socks to stretch them further.
Wear the shoes for two hours. Repeat this step until they fit comfortably.
You can also use a shoe stretcher to expand the length and width of your shoes, leaving it in the shoes when not wearing them to maintain their shape.
Here are some additional tricks to expedite the breaking-in process:

To avoid blisters during the breaking-in process, consider these preventative measures:
By following these tips and tricks, you can break in your new shoes comfortably and efficiently. Remember, patience and persistence are key, and if you’re still struggling, don’t hesitate to seek professional assistance. Soon enough, you’ll be enjoying your new kicks without any discomfort.
B2b@dmin 5月 10th, 2024
Posted In: Blog